
Last updated September 20, 2026
Free on-site gate assessment - hinges, posts, and your LiftMaster or Nice gate operator checked before anything is quoted
The assessment is free and the quote is the invoice.

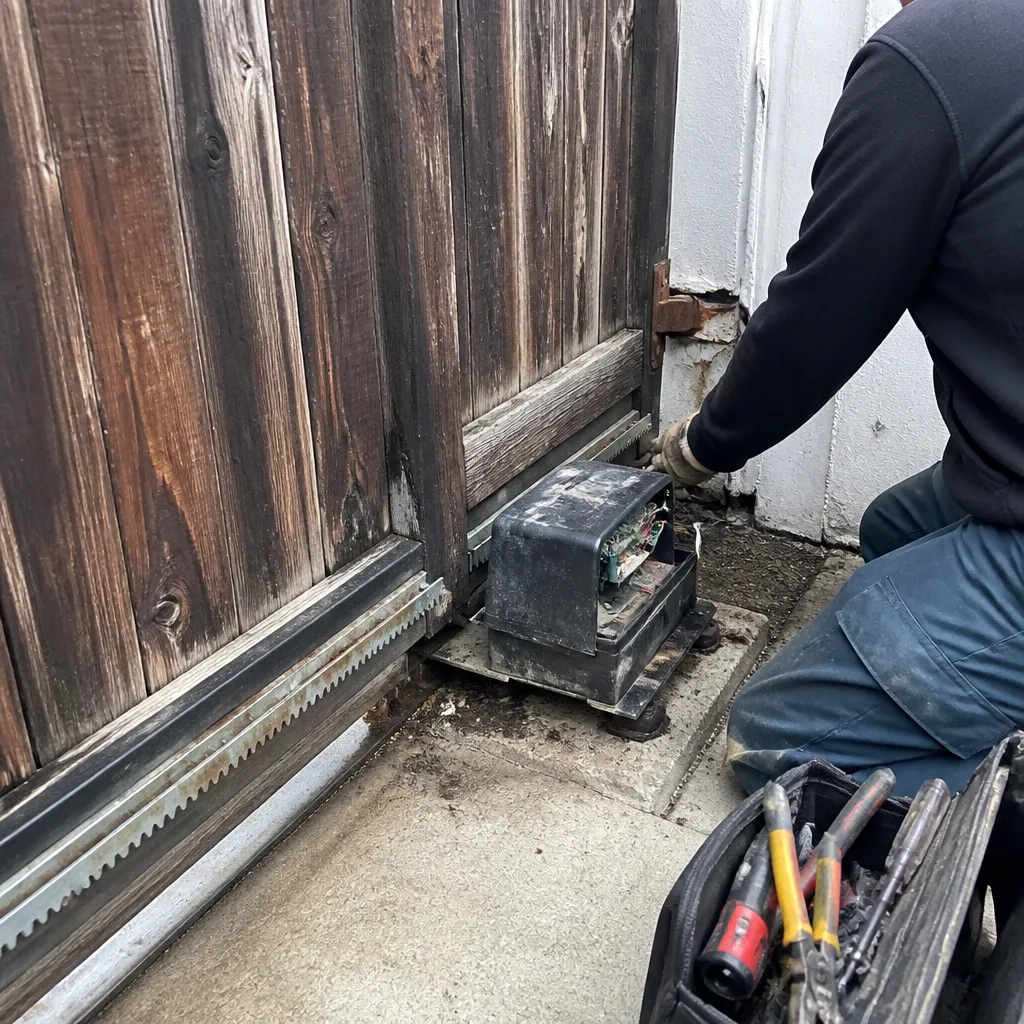 Before
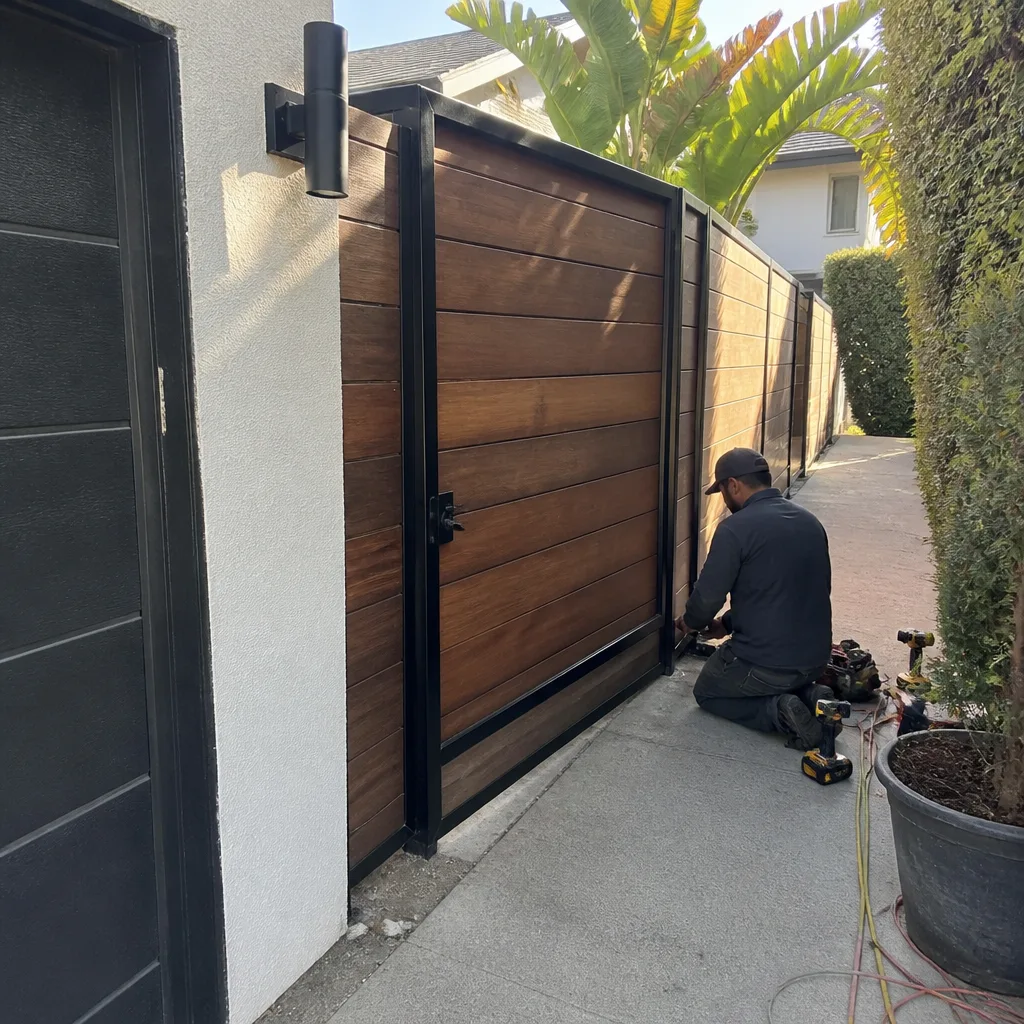 After
After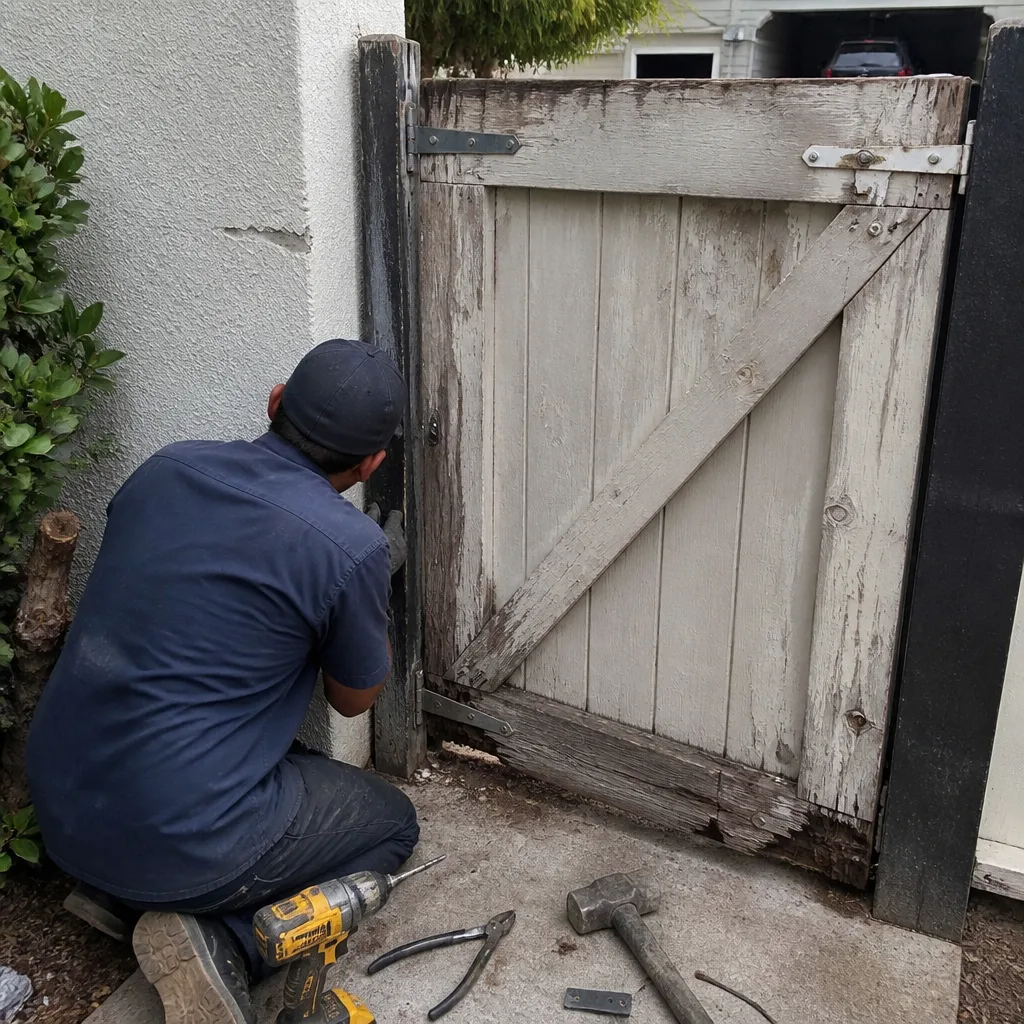 Before
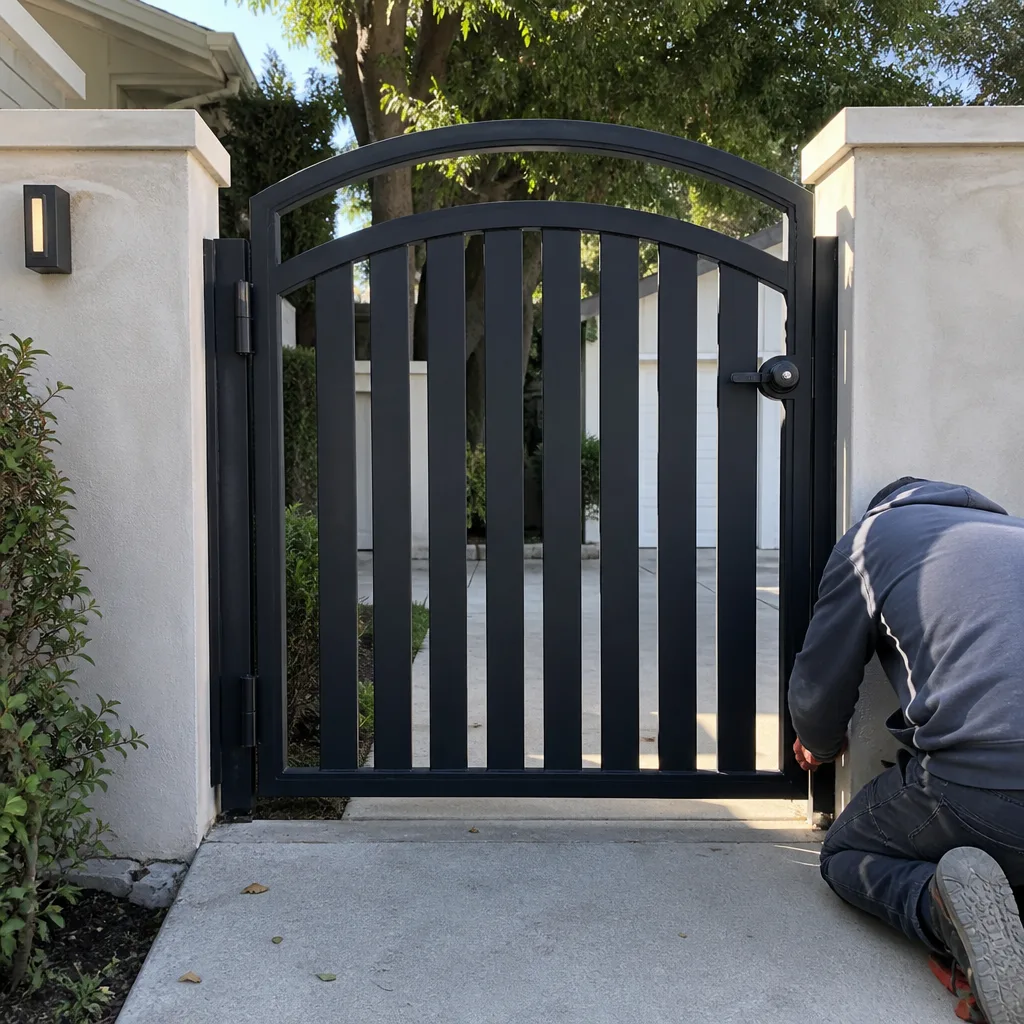 After
After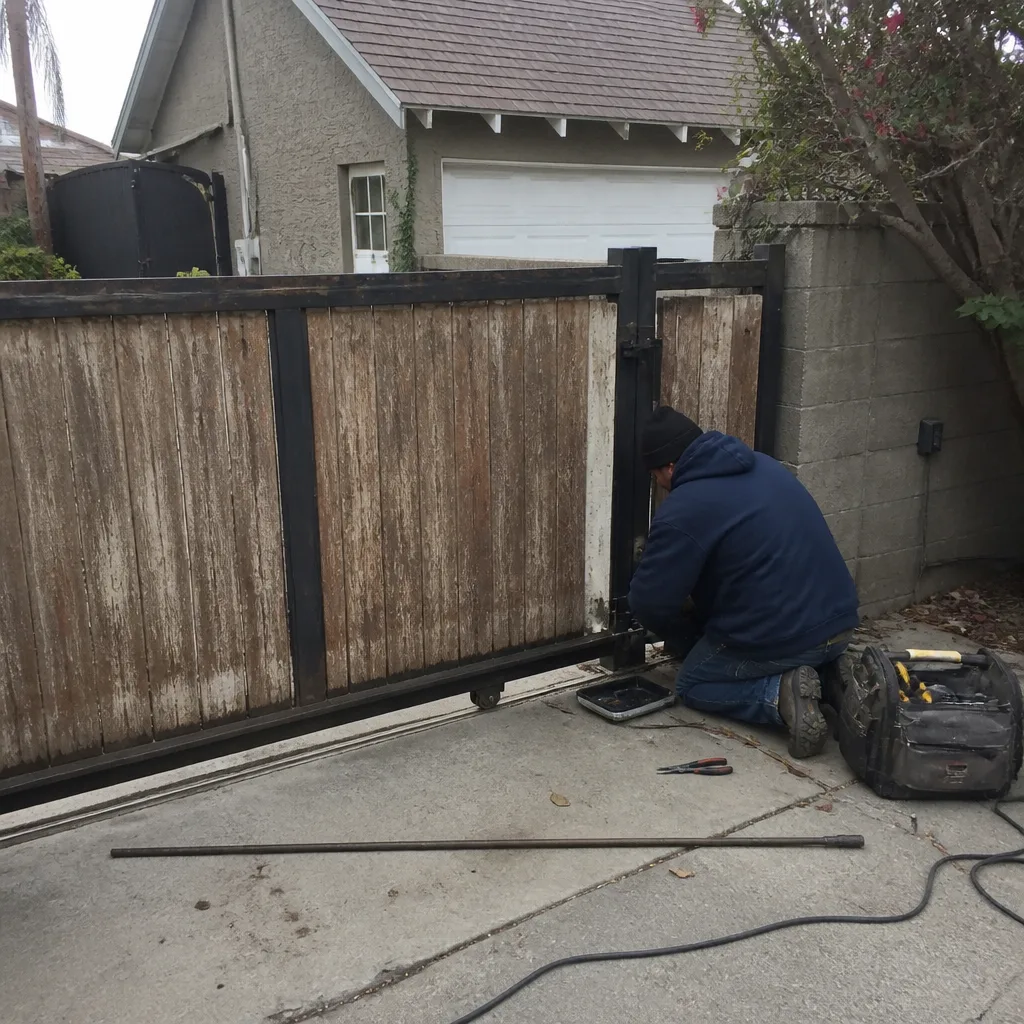 Before
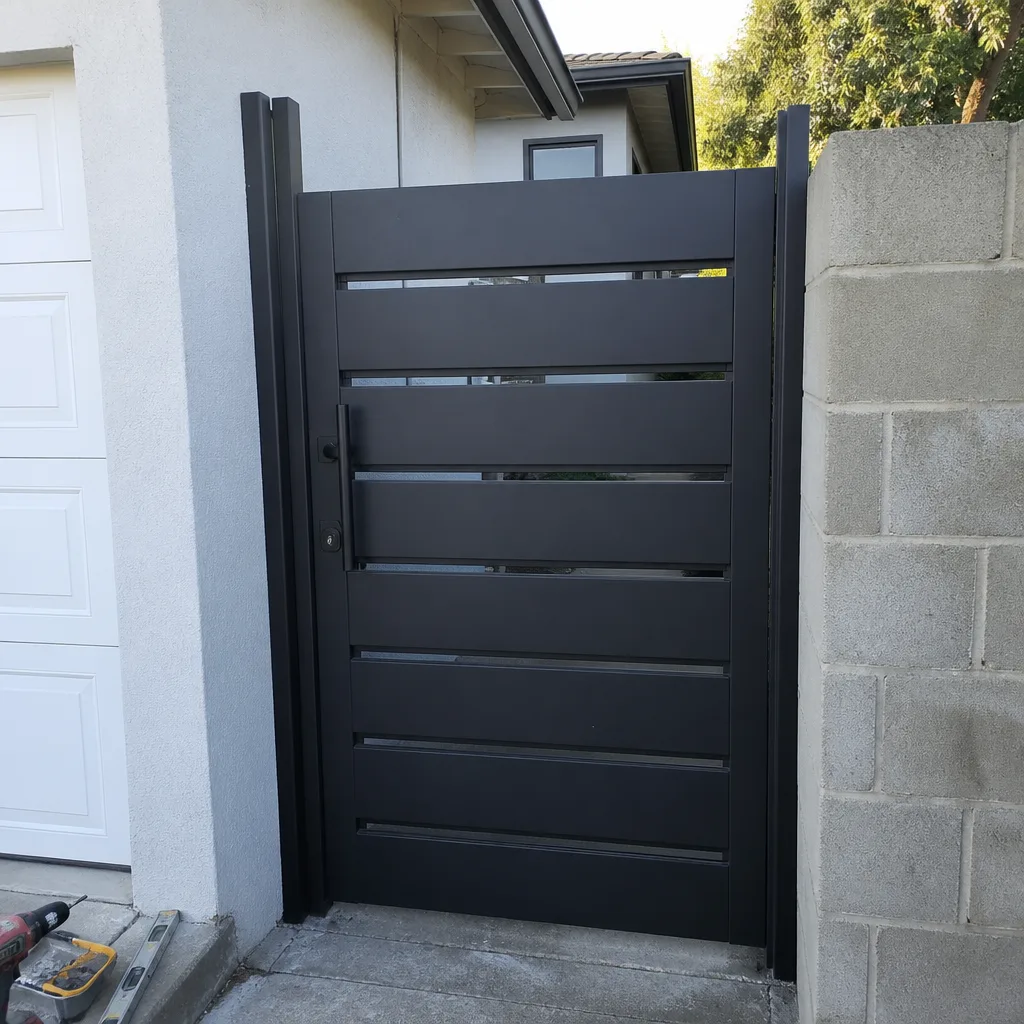 After
AfterDIY vs Professional Gate Repair: The Venice Homeowner’s Decision Guide
A hinge replacement on a manual garden gate is a Saturday project. Adjusting the limit switch on an automated driveway gate is a different category of work entirely, one that touches UL 325 entrapment-safety logic, and that’s the line this guide draws. Most Venice homeowners we talk to aren’t asking whether they’re handy enough to fix a gate or attempt Gate Repair themselves. They’re asking whether a repair that looks simple is actually safe to attempt, and whether saving the labor now costs more later. We’ll walk through exactly which tasks stay on the homeowner side of the line, which ones shouldn’t, and what a documented repair record does for your property that a successful DIY job never will.
Quick Answer
DIY is the right call for cosmetic and mechanical work on manual gates in Venice: hinge lubrication, handle replacement, surface-rust treatment, latch adjustment, and track clearing. DIY is not the right call for any repair on an automated gate that touches the motor, control board, limit switches, entrapment sensors, or wiring. The dividing line is not difficulty. It’s liability and documentation. Once a gate is automated, the device falls under UL 325 safety standards, and California courts have held property owners responsible for injuries caused by gates that were modified or adjusted by uncertified hands.
Table of Contents
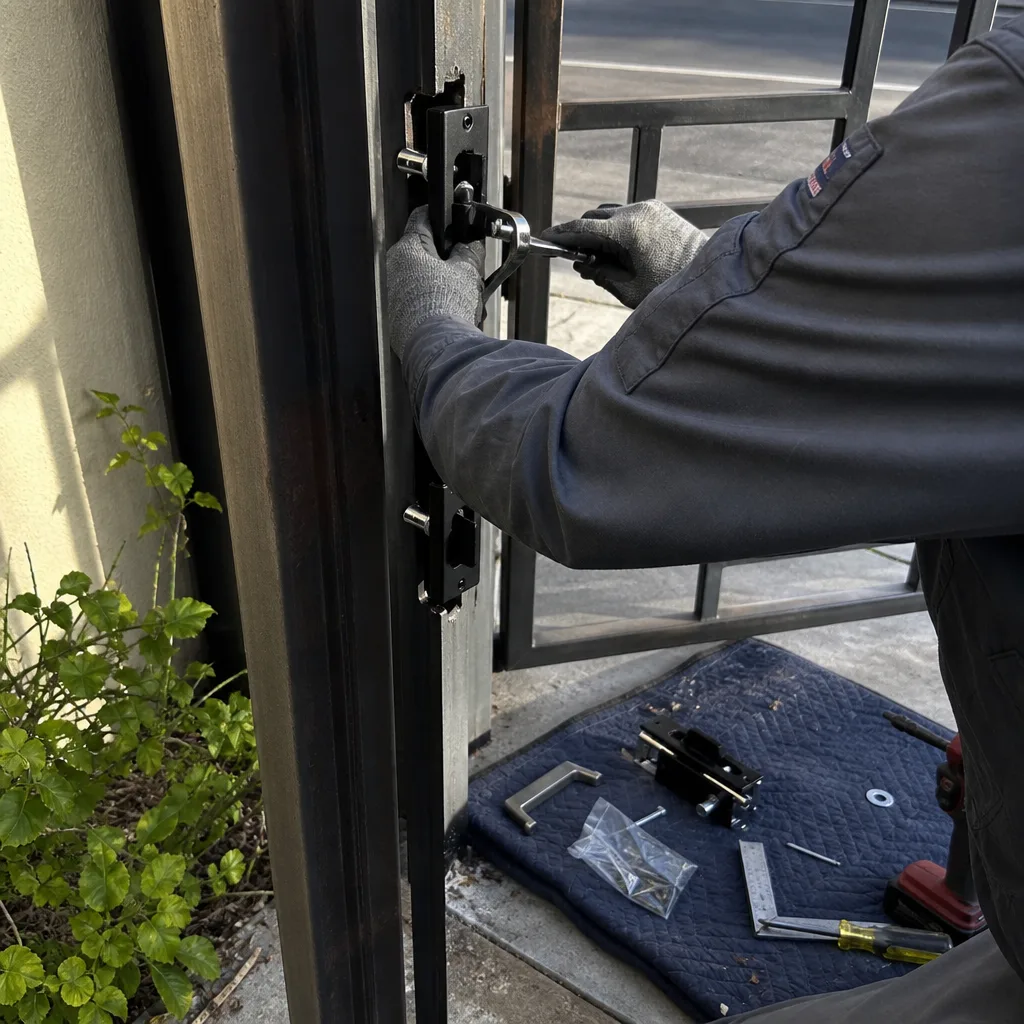
- The Real Line: Automation, Not Difficulty
- What’s Safe to DIY on a Venice Gate
- What You Should Never DIY on an Automated Gate
- How DIY Affects Your Operator Warranty
- The True Cost of a Failed DIY Repair
- Why Venice’s Coastal Environment Changes the Math
- The Documentation Argument for Professional Repair
- Common Mistakes to Avoid
- When to Call a Professional
- Frequently Asked Questions
- The Bottom Line
BeforeAfterThe Real Line: Automation, Not Difficulty
Most DIY-versus-professional discussions about gate repair start with the wrong question. People ask, “Is this hard?” The better question is, “What happens if this goes wrong, and who is responsible?” A homeowner who replaces a gate hinge has done carpentry. If the hinge fails, the gate sags. Annoying, but not dangerous. A homeowner who adjusts an automated gate’s limit switches without resetting the entrapment sensor has potentially disabled or miscalibrated a UL 325 safety device. If that gate closes on a child, a pet, or a delivery driver in Venice, the property owner is the one named in the lawsuit, not the YouTube tutorial that showed them which screw to turn.
UL 325 is the federal safety standard that governs automatic gate operators. It mandates entrapment protection: photo-eyes that detect an obstruction, edge sensors that reverse on contact, and force settings that stop the gate before it can crush or pin. Those systems interact. Change one parameter and you change the behavior of the whole safety loop. A limit switch that stops the gate two inches past its normal travel is also changing when the entrapment reversal logic engages. That’s not a guess on our part. We’ve measured it. In one Venice repair on a BFT swing operator, the homeowner had adjusted the close-limit switch to make the gate seat tighter against the post. The gate now closed with enough residual force to trigger the edge sensor a full second later than it should have. That one-second delay is the difference between a gate that reverses on contact and a gate that pins before it reverses.
The practical rule: if the repair involves moving parts on a manual gate, it’s mechanical work and you can reasonably evaluate whether to DIY it. If the repair involves any component of an automated system - motor, control board, limit mechanism, sensor, wiring, or the operator arm - you are no longer doing carpentry. You are modifying a safety system, and the liability exposure shifts to you the moment you touch it.
For background on what a full professional repair scope looks like, see our Gate Repair in Venice page.
What’s Safe to DIY on a Venice Gate
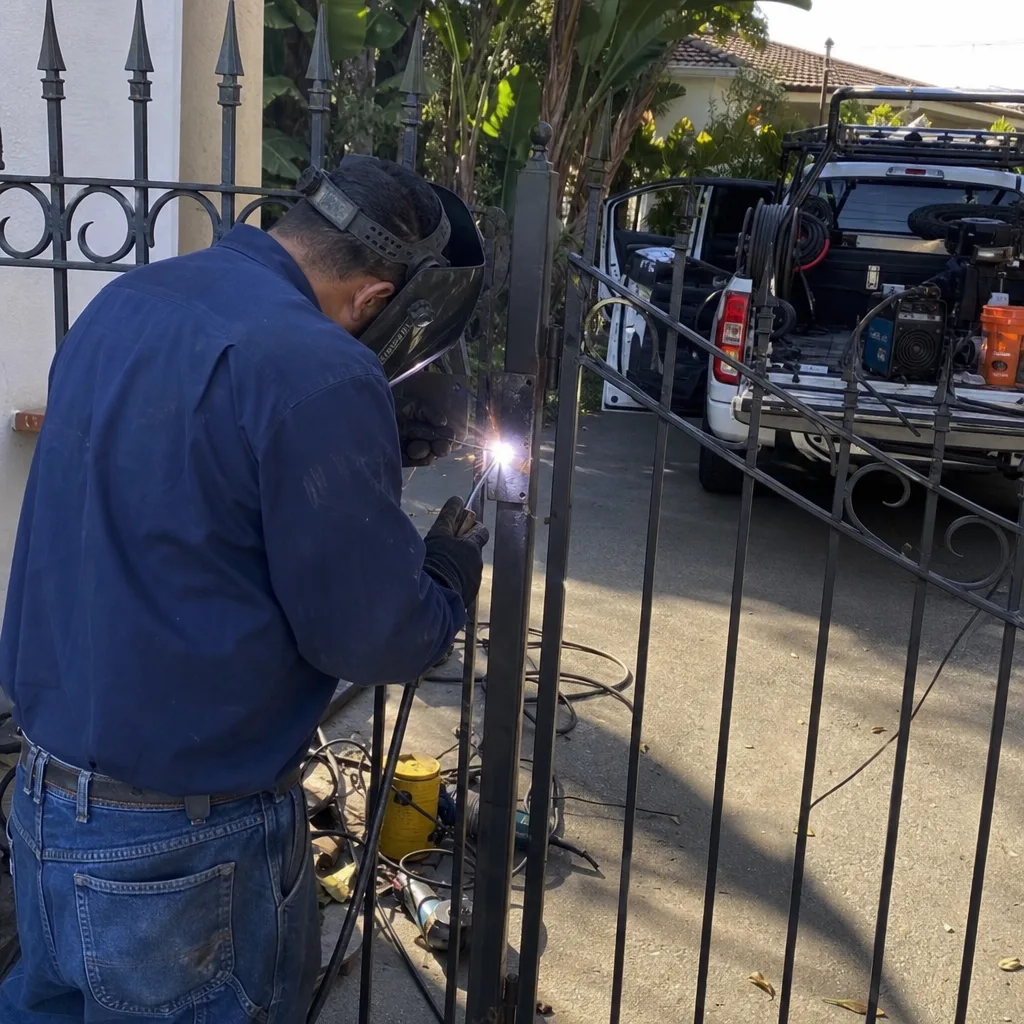
Some gate work belongs squarely in the homeowner’s column. These tasks don’t touch automation, don’t require specialty tools beyond what a reasonably equipped Venice garage already has, and don’t create liability exposure if done imperfectly. Here’s the list we give homeowners who call asking whether they can handle something themselves before booking us:
- Lubricating hinges and rollers. A dry hinge on a manual gate groans and eventually binds. White lithium grease or a silicone-based lubricant solves most cases. Do this twice a year in Venice, not once: the salt air accelerates drying on exposed metal.
- Tightening loose hardware. Gate hinges, latch plates, and post brackets vibrate loose over time. A socket set and fifteen minutes restores most manual gates. Check the post attachment bolts first: those carry the gate’s full weight under wind load.
- Treating surface rust. A wire brush, a rust converter, and an exterior-grade enamel keep surface corrosion from becoming structural rot. On manual gates, this is preventative maintenance, not structural repair.
- Adjusting a latch or strike plate. If a manual gate doesn’t catch cleanly, filing the strike plate or shimming the latch is straightforward mechanical work.
- Clearing track debris. Sliding gates on wheeled tracks collect sand, leaves, and the fine grit that blows off Venice’s beachside streets. Clearing the track and checking the wheels for free rotation is safe, simple, and genuinely prevents bigger problems.
- Replacing a handle or pull. Cosmetic hardware on a manual gate is a homeowner task. Match the bolt pattern or be prepared to drill new holes through the gate’s face.
Notice the pattern: every one of these is on the manual side of the line. None involves a motor, a sensor, a control board, or field wiring. If your gate has an operator mounted anywhere on it, the list above still applies only to the mechanical gate itself, not to anything connected to the automation.
What You Should Never DIY on an Automated Gate
Here’s the list that matters. These are the repairs we get called in to fix after a homeowner attempted them, and in several Venice cases, the secondary damage cost more than the original repair would have. We’re not listing these because we want the work. We’re listing them because the failure mode is predictable and expensive.
- Limit switch adjustment. The limit switch controls how far the gate travels before the motor stops. On a Linear or BFT operator, the limit mechanism is often a physical cam or a magnetic sensor near the drive shaft. Adjusting it without checking the force settings and entrapment device timing voids the safety calibration. If the gate over-travels into a post or under-travels and leaves an entrapment gap, the operator may not detect the obstruction correctly.
- Force-setting changes. Older operators have potentiometers labeled “force” or “sensitivity.” Turning them up makes the gate push harder through resistance. It also means the gate pushes harder into a person or a pet before reversing. UL 325 compliance exists so this dial isn’t set by feel. We use a force gauge. Homeowners use a hand and a guess.
- Photo-eye realignment or bypass. The photo-eye is the infrared beam across the gate opening. When it’s misaligned, the gate refuses to close, which is frustrating, which is why homeowners sometimes bypass it. That bypass restores function and simultaneously removes the primary entrapment-protection device. In California, that’s a liability decision with injury potential, not a convenience hack.
- Control board replacement or wiring modification. Gate control boards are low-voltage but unforgiving. Wire the common to the wrong terminal and you can fry a board that costs $300 to $600. We’ve replaced boards that died during DIY attempts on Viking and Ghost Controls operators in Venice, and the homeowner ended up paying for the board twice: once for the part they bought, once for the replacement we installed.
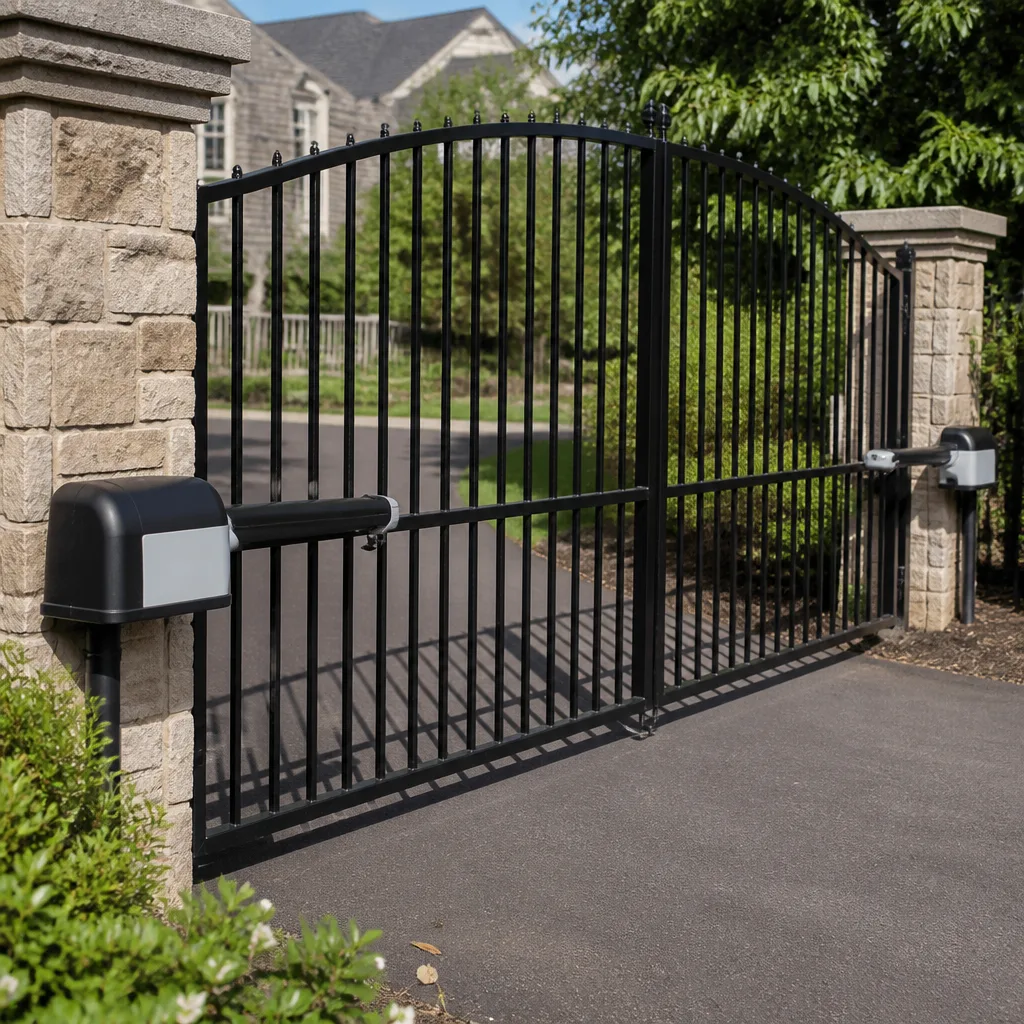
- Operator arm or piston replacement on swing gates. The arm attaches to the gate at a precisely calculated point. Mount it wrong and you change the leverage ratio. The operator strains, the gate’s travel arc changes, and the motor can burn out within months. This is one of the most common DIY failures we see on automated swing gates in Venice’s narrow beach-adjacent driveways.
- Any repair involving the gate’s electrical supply. Whether the operator runs on 120V line voltage or low-voltage DC from a transformer, opening the junction box or pulling conduit exposes you to whatever the last installer left in there. Coastal conduit in Venice corrodes fast, and the wire inside can be degraded in ways you cannot see until you pull it.
For the broader scope of what automated gate service involves, including motor diagnostics and replacement, see our Gate Motor & Opener in Venice page.
How DIY Affects Your Operator Warranty
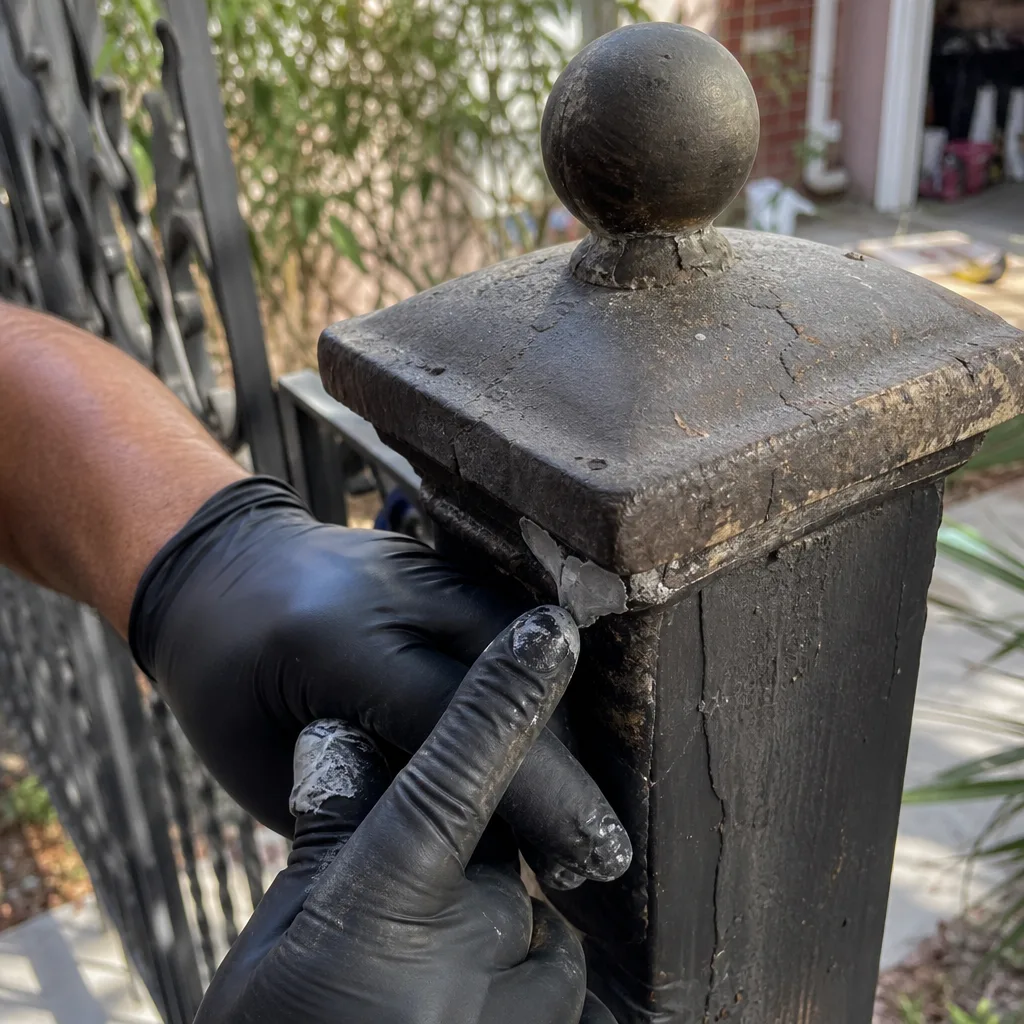
Before you attempt any repair on an automated gate, open the operator’s manual and read the warranty section. Most major brands - LiftMaster, FAAC, BFT, Linear, Viking, Ghost Controls, DoorKing, Elite, Mighty Mule - include language that limits or voids coverage when the unit has been serviced by anyone other than a qualified technician. The exact wording varies by brand. Some use “authorized service provider.” Some use “qualified gate technician.” None we’ve reviewed in eleven years of gate work extends full warranty coverage to self-installed repairs on the control board, limit system, or entrapment devices.
Here’s the specific sequence to check:
- Find the warranty section in the operator’s manual. If you don’t have the paper manual, the brand’s website has a PDF. Search for “void” or “unauthorized.”
- Check whether the warranty covers parts only, labor, or both. Most residential operators cover parts for 1-3 years, labor for far less. If the repair you’re considering would be covered, attempting it yourself converts a free repair into a paid one.
- Look for a “tamper” or “service” clause. Some operators have internal diagnostics that log fault codes and reset events. If a technician later finds evidence of unauthorized adjustment, the warranty claim can be denied even if your adjustment didn’t directly cause the failure.
- Call the manufacturer’s support line and ask. This is the step almost no one takes. A ten-minute call tells you definitively whether the repair you’re considering voids coverage. Write down the name of the person you spoke to. Documentation matters, and we’ll return to that theme.
In our experience, homeowners are surprised by how often the answer is “that would void the parts warranty.” The gate operator industry has consolidated around a service model that assumes trained hands. It’s not a conspiracy against DIYers. It’s a recognition that these devices are safety equipment first and convenience machines second.
The True Cost of a Failed DIY Repair
When people compare DIY to professional gate repair, they usually compare the cost of parts to the cost of labor. That’s the wrong comparison. The right comparison is between the cost of professional repair and the total cost of a DIY attempt when the attempt fails - including the parts you bought, the damage you caused, and the professional who now has to undo your work before starting their own.
Here are real cost patterns we’ve seen in Venice:
- The fried control board. Homeowner attempts a control board swap or a wiring repair. One misplaced wire sends 24V into a 5V logic circuit. The board is dead. Cost of the original repair if we’d done it: roughly $350-$500 including the part. Cost of the DIY attempt: $200-$400 for the board the homeowner bought, plus $450-$700 for us to diagnose, remove the damaged board, verify the wiring harness, and install a new one correctly. Net loss: $300-$600 and a week without a working gate.
- The misadjusted limit switch. Homeowner tightens the close limit so the gate seats flush. The gate now over-travels past the designed stop, stressing the operator arm and the hinge welds. The arm bends or the weld cracks. The repair that would have cost $175-$250 for a limit adjustment and safety recalibration becomes an arm replacement or a welding call at $500-$900.
- The hinge replacement on an unplumb post. A manual gate sags, so the homeowner replaces the hinge. But the post itself has drifted out of plumb, likely due to root pressure from a neighbor’s ficus or years of wind load off the ocean. The new hinge wears unevenly and fails within a year. The underlying post issue was never addressed, and now the gate needs a post reset plus another hinge set. The professional repair we would have quoted in writing would have started with the post.
- The photo-eye bypass. This one costs nothing to attempt and potentially six figures to litigate. If a delivery driver, a neighbor’s child, or a pet is injured by a gate whose entrapment protection was deliberately disabled, the property owner’s insurance may deny the claim. Insurance policies often exclude losses caused by intentional removal of safety devices. That’s not a gate-repair cost. That’s a personal-liability event.
The pattern is consistent: the DIY attempt rarely fails safely. It fails into the most expensive component or the most dangerous configuration.
Why Venice’s Coastal Environment Changes the Math
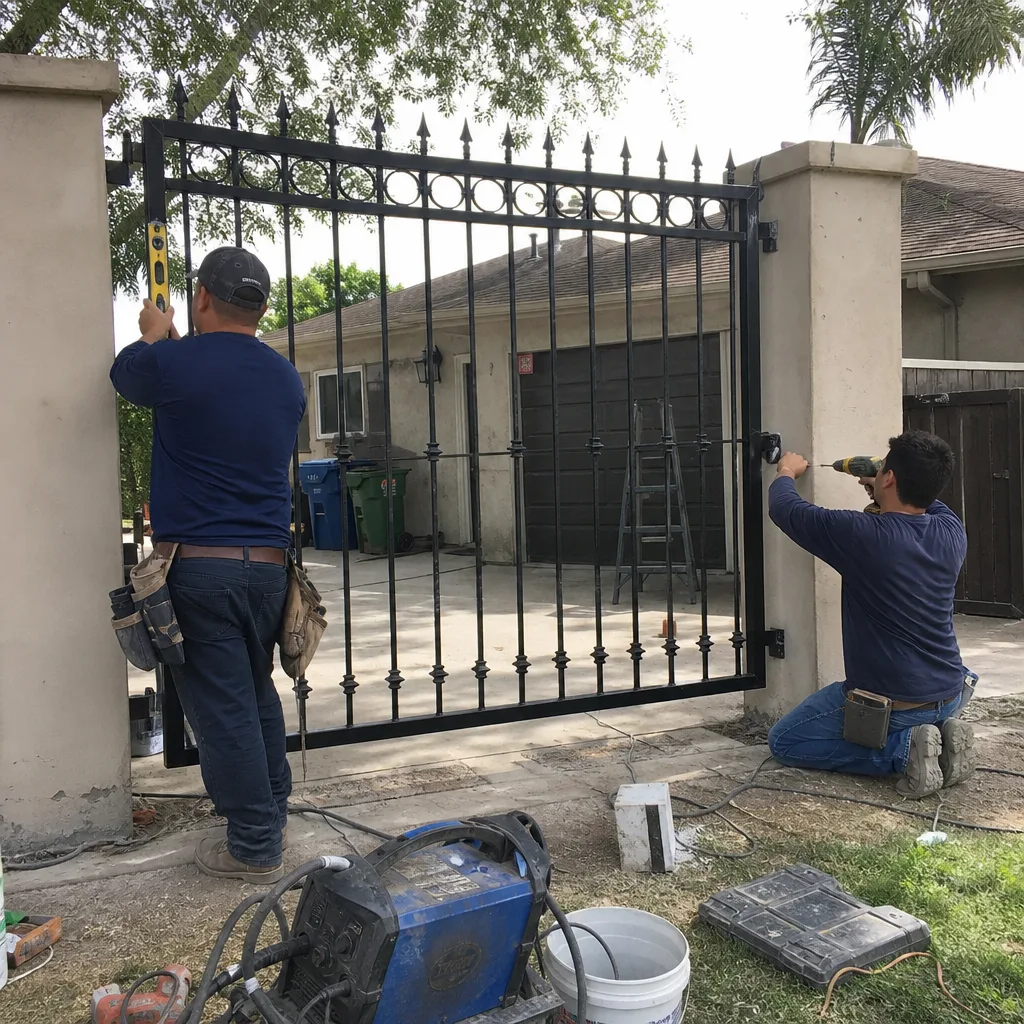
Venice is not an inland city with ocean views. It is a beachside grid with salt-laden air, persistent morning fog from May through August, and sand that moves through the streets on any breezy afternoon. That environment does specific things to gates and gate hardware, and it makes some DIY repairs riskier here than they would be ten miles east.
Salt air corrodes. The visible rust on a gate’s surface is only part of the story. Inside the tubing, inside the hinge barrels, inside the operator housing, the same corrosion is working on metal you can’t see. A hinge that looks sound on the outside can be structurally compromised inside where the pin rides. When a homeowner replaces a hinge on a Venice gate, they’re often bolting new hardware to a gate frame that’s thinned from the inside out. The new hinge can’t fix that.
The electrical side is worse. Conduit along the coast corrodes from the outside. Water gets in. Once water enters a conduit run, the wiring inside sits in a salt bath every time it rains or the fog rolls in. We’ve pulled wire from Venice conduit that looked like green chalk: the insulation cracked, the copper oxidized, and the conductor brittle enough to snap with hand pressure. That’s not something you diagnose from outside the junction box. It’s something you find when you open the enclosure and look.
There’s also the wind. Venice gets steady onshore flow, especially in the afternoons. A large manual gate or an automated gate catches that wind like a sail. Hardware that would be fine in a protected inland backyard fails faster when it’s absorbing daily lateral load. We see this most in gate hinges, post attachments, and the brackets that hold operator arms to the gate frame. When a homeowner replaces a hinge without checking whether the post has shifted under wind load, they fix the symptom and miss the cause.
The practical takeaway: in Venice, DIY gate repair is not just about whether you can do the job. It’s about whether you can see the full job. Coastal corrosion hides. And what you can’t see is what turns a planned Saturday repair into a much larger problem by Tuesday.
For readers weighing repair against replacement, our Gate Installation in Venice page walks through what full replacement involves and when it’s the smarter spend.
The Documentation Argument for Professional Repair
Here’s the part of the DIY-versus-professional question that almost no one discusses, and it may be the most important factor for Venice homeowners who plan to sell, file an insurance claim, or simply avoid paying for the same repair twice.
When you repair your own gate, you have no record of what was done unless you create one. Most homeowners don’t. The repair works or it doesn’t, and either way, there’s no paper trail. When a professional gate company performs a repair, the good ones leave a record. That record matters in three specific ways in Venice:
Resale and disclosure. California requires sellers to disclose material facts about the property. If your automated gate was serviced, adjusted, or modified, a buyer can reasonably ask what was done and by whom. A documented repair record answers that question cleanly. “I adjusted the limit switch myself” is a legally honest answer that also raises a buyer’s eyebrow, because the buyer’s inspector may flag the gate as modified by an uncertified party and recommend a full safety inspection before close. That inspection costs money and can delay the sale.
Insurance positioning. If a gate-related injury occurs on your property, your insurer will investigate. One of the first questions they ask is when the gate was last serviced and by whom. A dated service record showing that entrapment devices were tested and calibrated by a professional is evidence that you maintained the gate responsibly. The absence of any record, combined with evidence that the safety system was modified by the policyholder, puts you in a much weaker position. We are not attorneys. But we have seen enough claim investigations to know that documentation changes outcomes.
Future repairs. When you call a gate company for a new problem, the technician’s first question is usually some version of “what’s been done to this gate?” If the answer is “I adjusted some things myself,” the technician starts from scratch, re-diagnosing everything because nothing can be trusted. If the answer is “here’s the record from the last service,” the technician starts from the documented baseline and goes forward. For what should be documented, see our Gate Repair Maintenance Checklist for Venice Homeowners. In practice, a documented service history saves measurable time and money on every subsequent repair.
This is the logic behind what we call The Haven Standard: a written scope, a written price, and photographic evidence on every single visit. The documentation is not an add-on. It’s the thing that separates a repair from a guess. Under Clause 4, every visit includes a documented photo record of what was found, what was adjusted, and what was installed. That record goes to the homeowner and stays in the job file. If you ever need to show an insurer, a buyer, or a future technician what was done, you have it.
You can read more about how we approach gate work in Venice on our Vance Gate Repair Venice home page.
Common Mistakes to Avoid
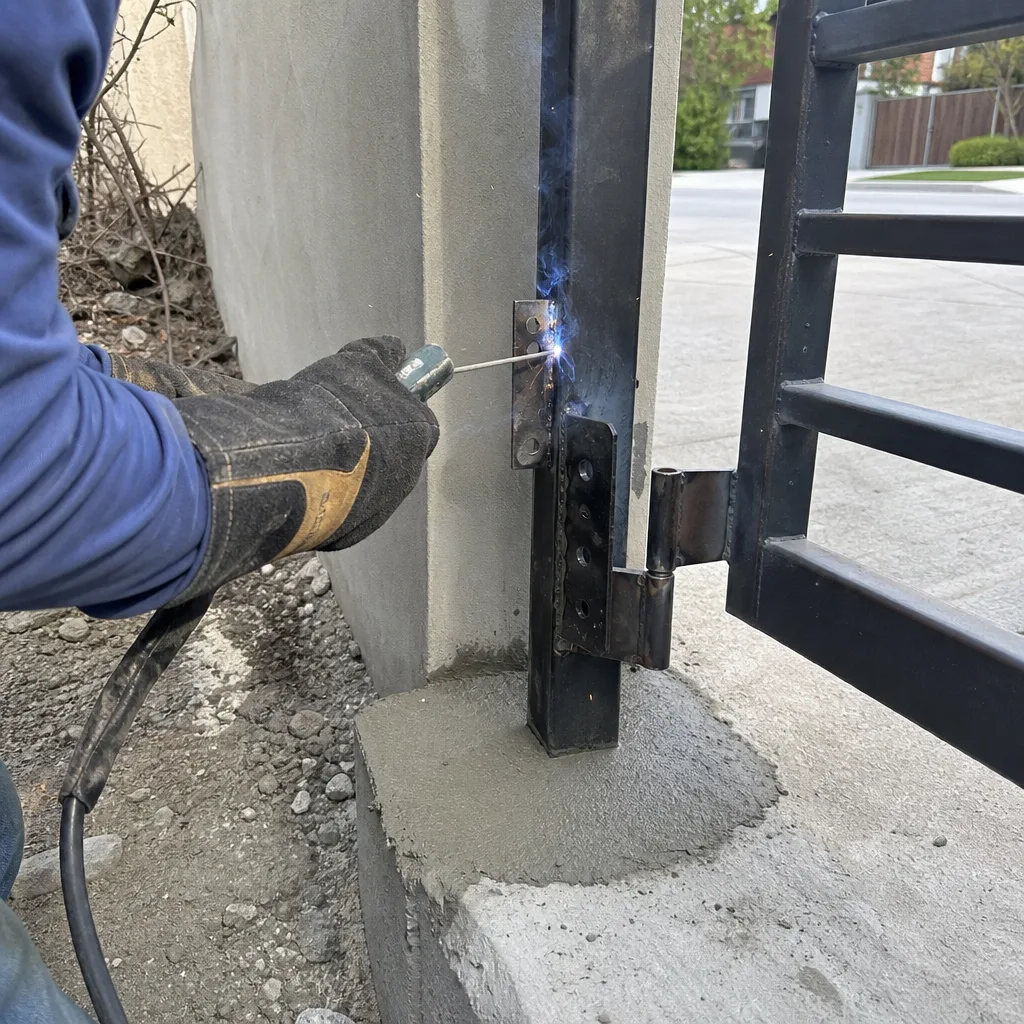
- Treating the gate operator’s force dial as a performance control. Turning up the force to push through a sticky track masks the underlying problem and puts the gate out of UL 325 compliance. The sticky track is the repair. The force dial is the safety device. Don’t confuse the two.
- Bypassing a photo-eye because the gate won’t close. The gate won’t close because the sensor is misaligned or blocked. That’s the symptom of a fixable problem. Bypassing the sensor converts a repair into a liability.
- Replacing parts before checking the post. In Venice’s sandy, wind-loaded soil, gate posts drift. A new hinge mounted on a shifted post is a repair that will fail on schedule. Check the post first.
- Ignoring the operator’s manual when a repair looks “obvious.” Gate operators from different brands use different logic. A BFT board is not wired like a Linear board. The manual is free. The board is not.
- Skipping the rust treatment inside the gate tubing. Surface rust removal is cosmetic. The structural threat in Venice is internal corrosion. If you’re treating rust you can see, spend the extra time checking what you can’t.
- Assuming a gate that still opens is a gate that’s fine. Gates fail progressively. A slow drift toward slower operation, a new creak, a gate that pauses mid-travel: these are diagnostic information, not quirks to live with. By the time the failure is obvious, the damage is usually done.
When to Call a Professional
Call a gate professional when the repair touches any automated component: motor, control board, limit switches, force settings, photo-eyes, edge sensors, operator arm, or field wiring. Call when the gate is making a new noise you can’t source, moving slower than last month, or reversing without an obstruction. Call when the post has shifted, when rust has penetrated beyond the surface, or when you’ve already attempted a repair and the gate still isn’t right. In Venice, the coastal environment accelerates every one of these failure modes, and the earlier a professional sees the gate, the cheaper the fix. Vance Gate Repair Venice offers free estimates in Venice - call (213) 267-6777 and a live person will answer, any hour, any day.
Frequently Asked Questions
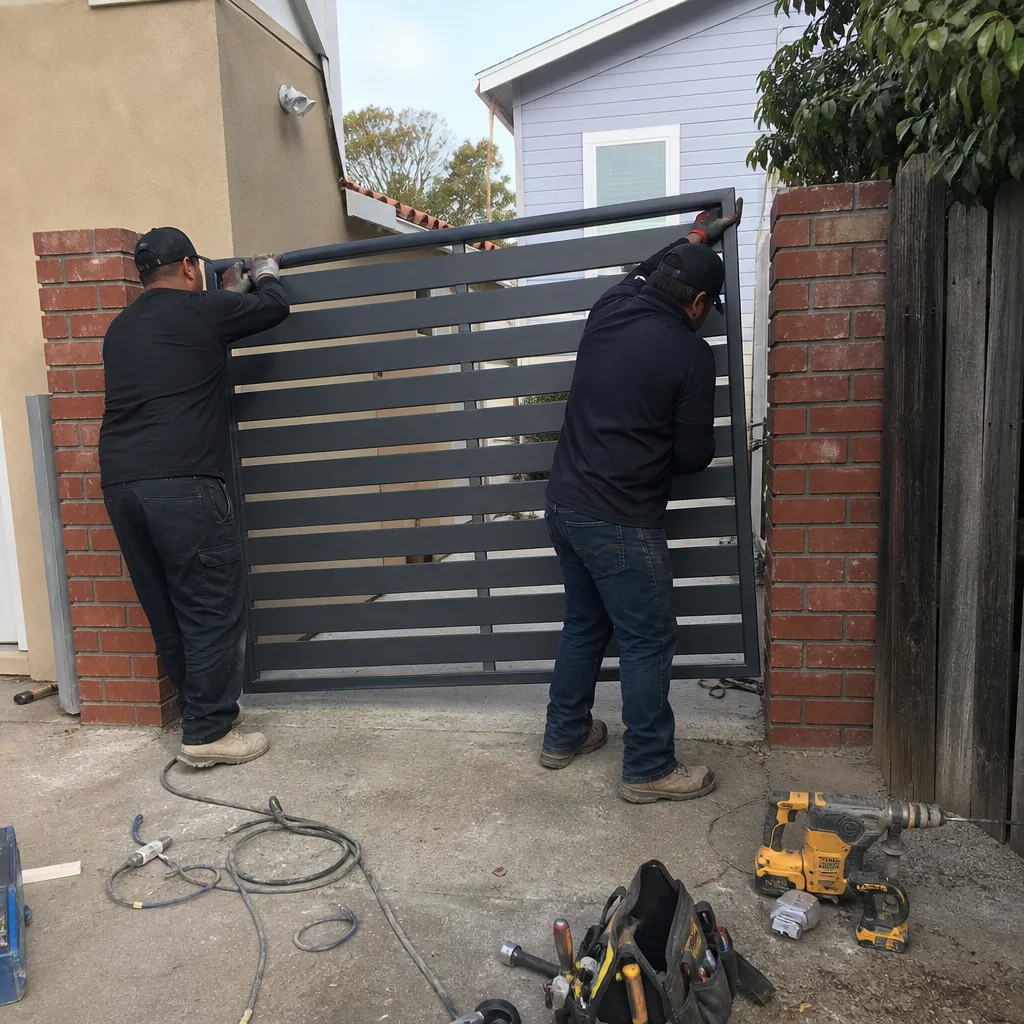
On a truly mechanical repair like hinge lubrication or latch adjustment, DIY saves the full labor charge, which in Venice typically runs $120-$250 depending on the job. On any automated repair, DIY savings are often negative: a failed DIY attempt on a control board or limit switch usually costs $300-$600 more than the professional repair would have cost in the first place, because the professional must undo the damage before starting the actual fix. Call (213) 267-6777 for an exact quote on your specific gate - estimates are free.
You can physically do it, but you shouldn’t. A gate opener motor replacement involves mechanical mounting, electrical connection, limit-switch calibration, and entrapment-sensor verification. Getting any one of those wrong creates a safety hazard and usually voids the new motor’s warranty. Professional motor replacement in Venice runs $400-$900 depending on the operator brand and whether the mounting hardware can be reused.
On a manual gate: lubricating hinges and rollers, tightening loose hardware, treating surface rust, adjusting a latch or strike plate, clearing track debris, and replacing a handle. On an automated gate: lubricating the gate hinges themselves, as long as you don’t touch the operator, sensors, or wiring. Everything else on the automated side belongs with a professional.
Yes. Salt air corrodes gate hardware from the inside out, conduit degrades faster, and daily onshore wind loads accelerate hinge and post wear. A repair that looks cosmetic on the surface often masks structural corrosion underneath. Professional repair in Venice includes checking what you can’t see, which is exactly what DIY can’t do.
Documentation affects resale disclosures, insurance positioning after an incident, and the efficiency of every future repair. A homeowner with a documented service history answers buyer questions cleanly, supports insurance claims with evidence, and gives the next technician a trusted baseline. A homeowner with no record and evidence of DIY modification faces delays, inspections, and potential claim complications.
Yes, as long as it’s a repair. A live person at Vance Gate Repair Venice answers the phone 24/7, and we schedule repairs the same day the call comes in. Installations and new automation work get a free measure and a written price, not a same-day promise. Call (213) 267-6777 and you’ll reach a person, not a voicemail queue.
The Bottom Line
The DIY-versus-professional gate repair decision in Venice isn’t a test of your competence. It’s a question of where the liability and documentation burden falls. On a manual gate, a careful homeowner can handle lubrication, hardware tightening, surface rust treatment, and latch adjustment with good results. On an automated gate, every repair that touches the motor, sensors, wiring, or control logic is a safety-system modification under UL 325, and the failure mode is expensive or dangerous. Venice’s coastal environment makes hidden corrosion a constant variable, and the absence of a documented repair record compounds every future cost. If the repair is mechanical and manual, do it. If it’s automated, call someone who leaves a written record. Call Vance Gate Repair Venice at (213) 267-6777 for a free estimate and a written price before any work starts.
Written by Adrian Vance, Owner at Vance Gate Repair Venice, serving Venice since 2014. Explore more guides & resources on gate care and coastal maintenance.